Windows版Pythonのインストール
Pythonは多くのプログラミング言語と同様に、Windows上でも利用できます。この投稿では、Windows環境にPythonをインストールする手順を紹介します。Pythonのインストールは簡単で、プログラミングの世界への第一歩です。
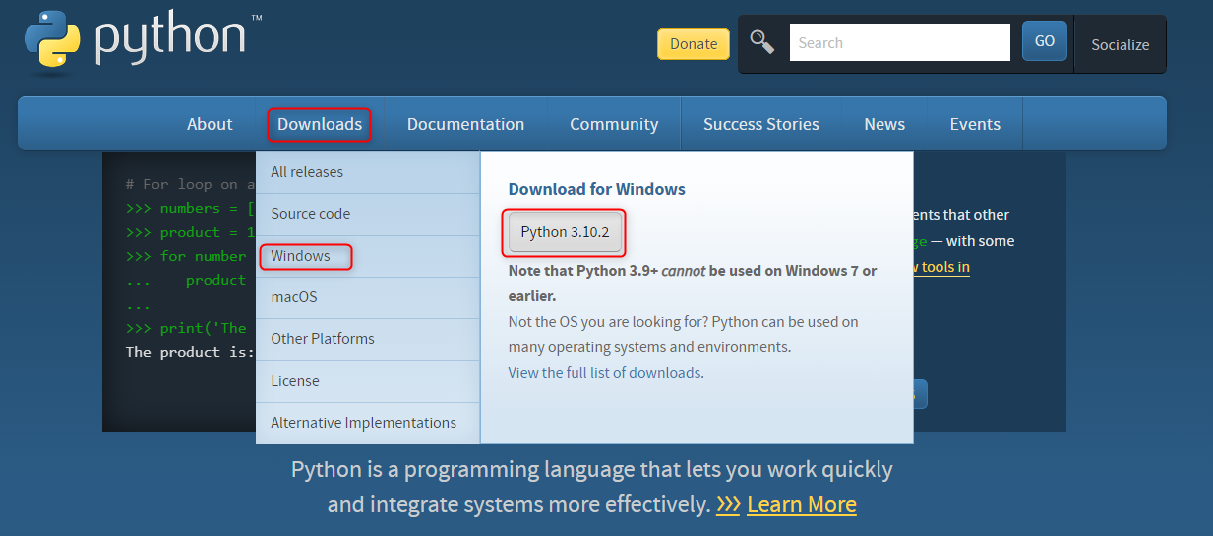
Python のダウンロード
Python のダウンロードから行います。下記の URL へアクセスして下さい。
https://www.python.org/
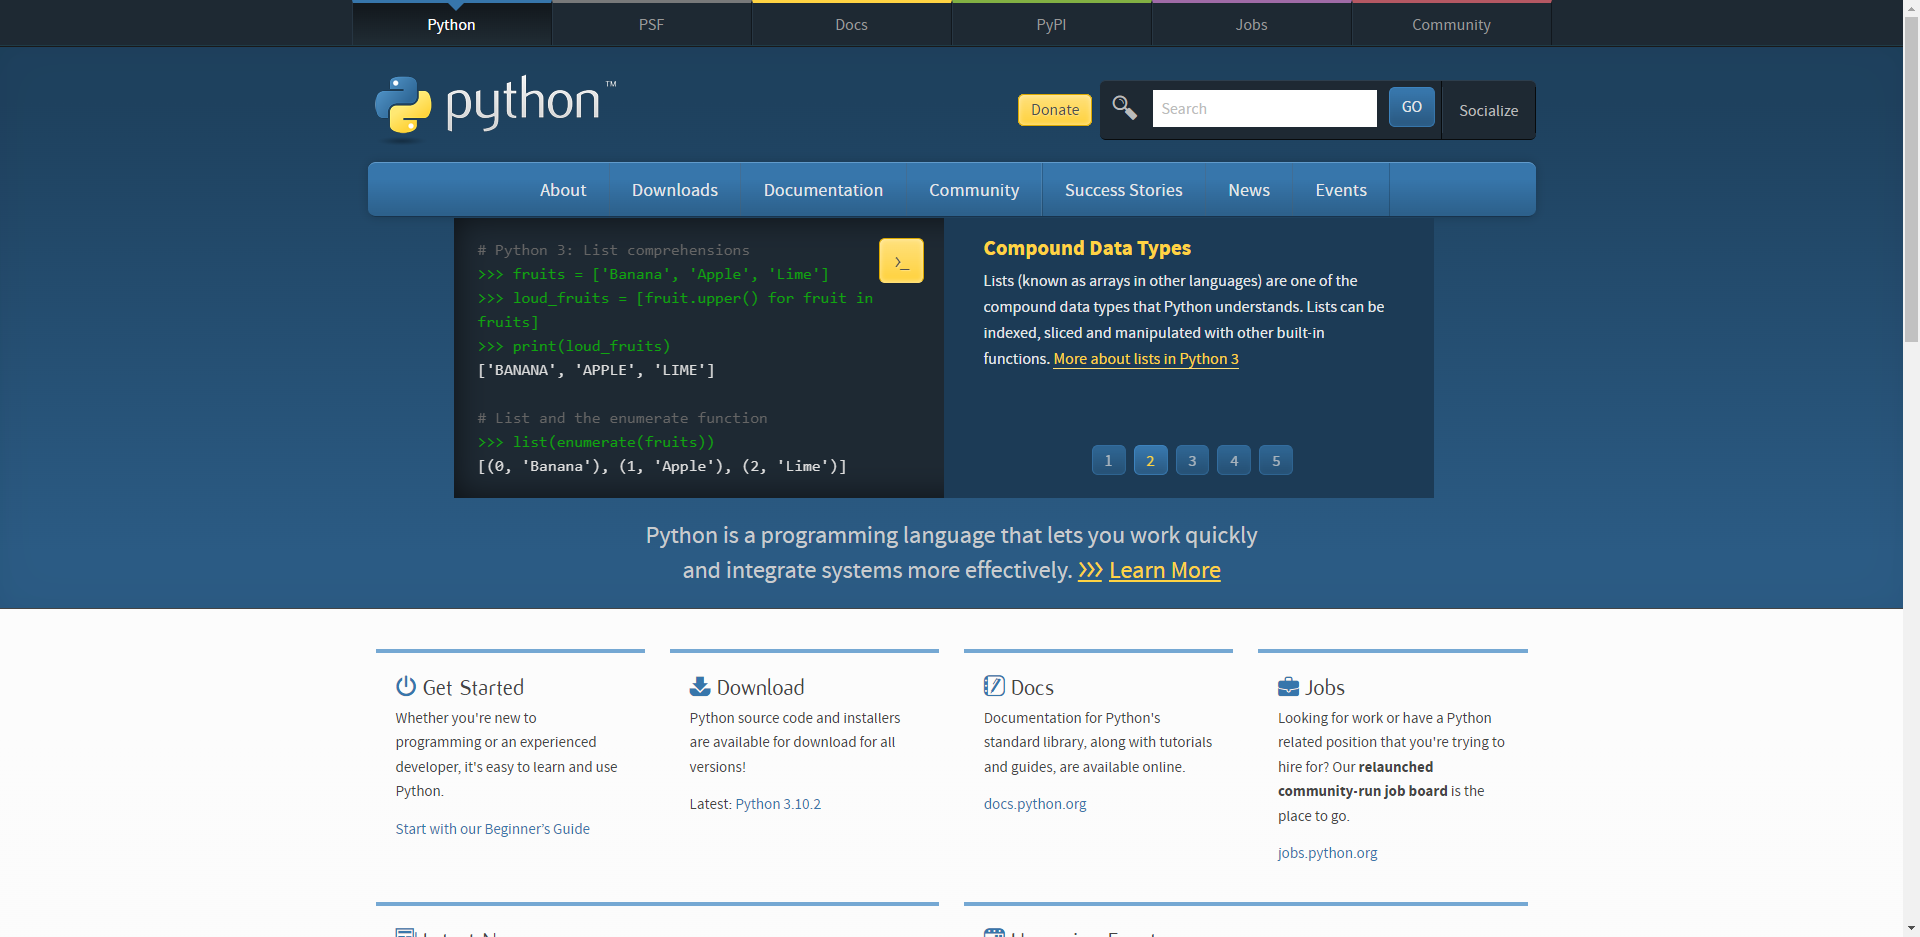
画面上部に表示されているメニューの中から「Download」にマウスを合わせるとメニューが表示されるので、メニューの中から「Windows」をクリックしてください。
Python のインストール
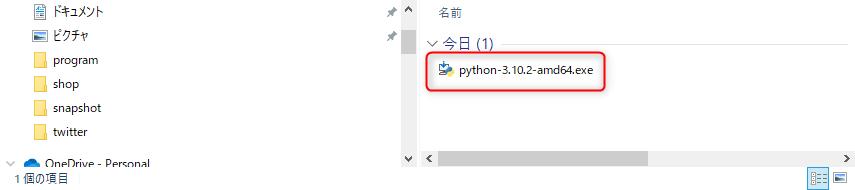
ダウンロードした、ファイルを実行
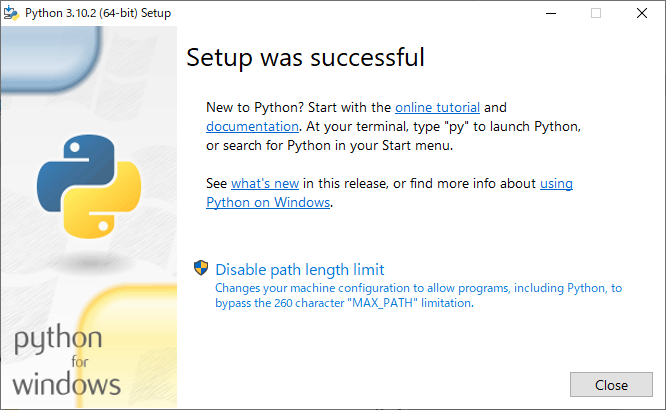
画面の一番下に「Add Python 3.6 to PATH」というチェックボックスがありますので、必ずチェックをしてください。

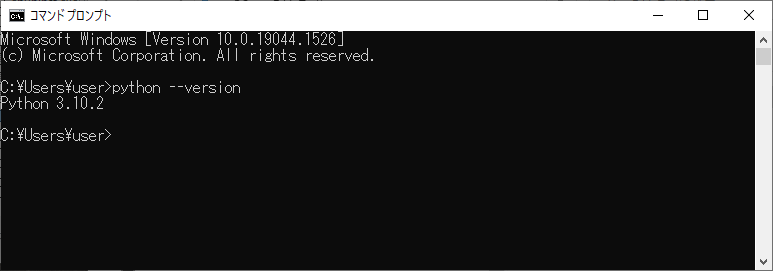
Windows PCでPythonが使えるようになっているかを確認します。
コマンドプロンプトを開いて、以下のコマンドを実行します。以下のようにバージョンが表示されたらOKです。
PythonをVisual Studio Codeで試す
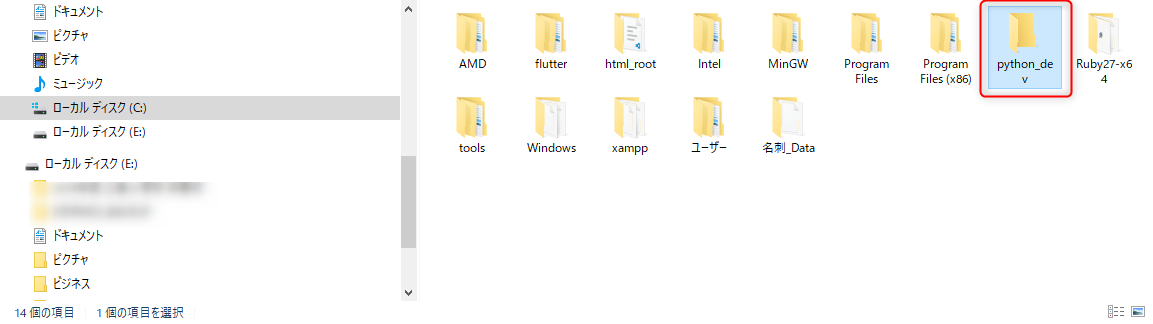
まず、デスクトップに作業用のフォルダを作成します。例として、以下の画像のように、「python_dev」というフォルダを作成します。
Visual Studio Codeのインストールは以下のブログを参照してください。
Visual Studio Codeのインストール
Visual Studio Codeを起動する。(Visual Studio Codeインストール済み前提)
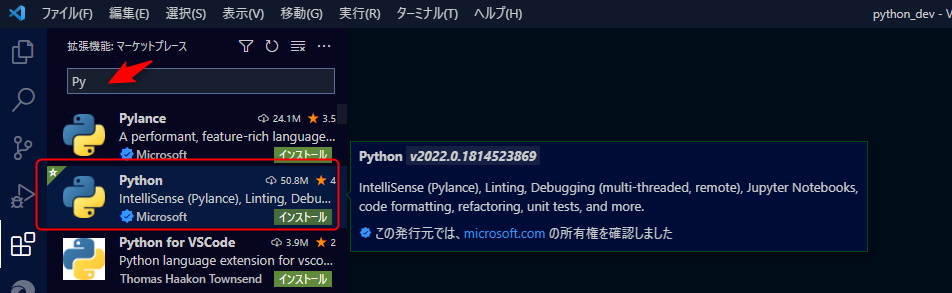
PythonのExtensionをインストールする。
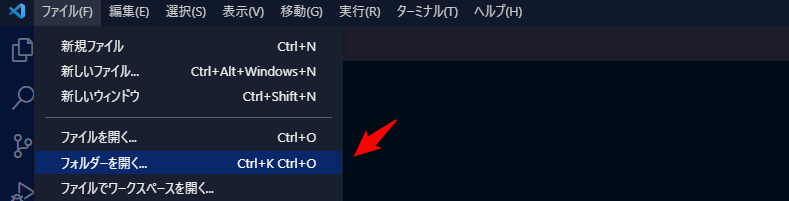
作成したフォルダーを選択する。

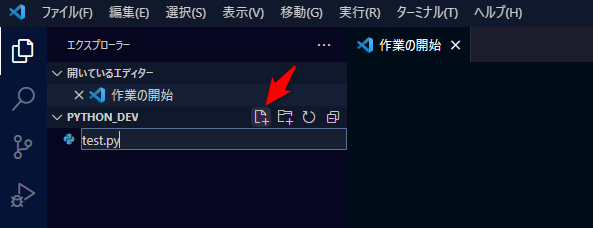
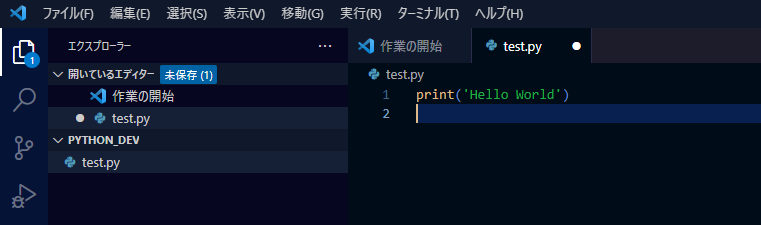
「新しいファイル」を押して、新規作成のプロンプトにpythonのファイル名を入力します。ここでは、test.pyとします。
これで、pythonのプログラミングができます。

プログラミングして実行する。
ここでは、"Hello World"を表示してみます。
コーディング完了したら、「CTRL+S」で保存してください。
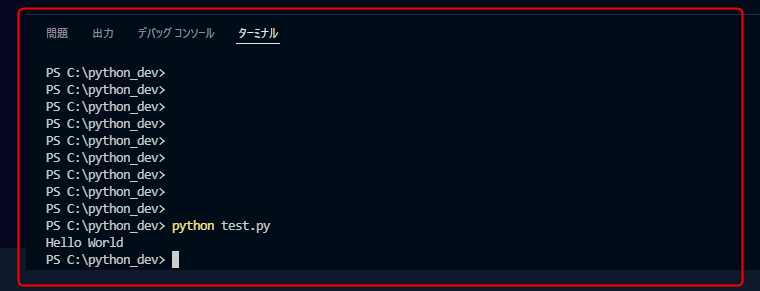
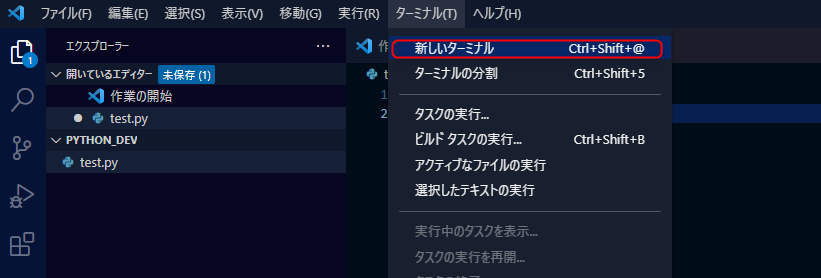
ターミナルを開いてください。
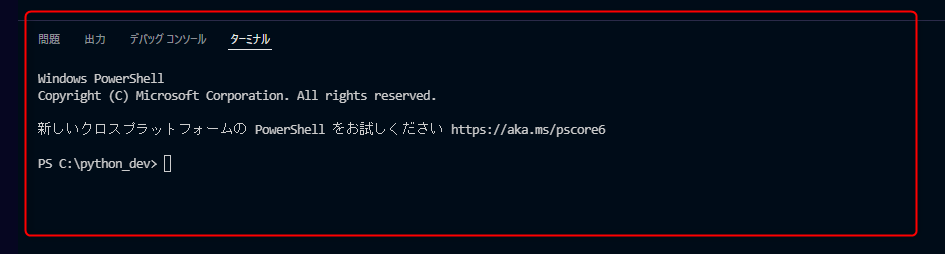
「python test.py」と入力してください。"Hello World"と表示されたらOKです。